

I’d be lying if I said I knew where to begin with this series, and well, since I’m not a liar I’ll begin it with this really awkward sentence instead. I’ve had this car for quite awhile now; 14 years to be exact. I’ve had other cars come and go, but this one has stuck by my side through it all. It’s been through many different stages in it’s life with me, but as of yesterday, I began the journey to start it’s final stage.
I’ve enjoyed the car tremendously both at the track and as a daily driver. However, there has always been something that’s bothered me about it. I’ve never been 100% satisfied as to how it was built. I never went that extra mile with it to make it truly the way I want it. At the end of last year something finally clicked in my head and I vowed to start a build that would end all that; I would finally build the time attack car I’ve always planned to.

First order of business was to pick up the materials for the cage that we are fabricating at Bardabe. We’ll be making a basic through dash, 6-point with door bars. Since weight is the biggest factor for me, we went with a outer diameter of 1.5″ with a thickness of .095. Pretty standard for DOM cages for a car of my curb weight. You’ll see as we progress through this build that making the car as light as possible is my number one priority; something I’ve learned from my friends in Japan. Losing weight is basically free power.

Since, over the past year or two, the car has served as both a track car and means of transportation, their really wasn’t much to strip on the interior. The car was already pretty much fully gutted from the dash back, so I started with the exterior panels. I’ll be running a BattleCraft hood, and fiberglass doors, so naturally I just pulled every panel off seeing as how you have to remove the fenders to get to the door hinges.

Actually it was good that I removed the fenders because I can see just how close the 225’s got to hitting the outer fender crease. I plan to run a 255/40/17 on the new build so this is something that I’ll have to address…and by address I mean pound the hell out of it with a hammer.

You can kind of see here the state of the interior as it was before – not much to it anyhow. The next step will be to remove the entire dash and frame.

The engine, a B16, will remain untouched during the initial part of this build. After the chassis and suspension is taken care of, then I will turn my focus to the engine as I haven’t fully decided which route I will take. You can see the Koyorad setup I ran here for last year that worked tremendously well. It’s actually a Scion TC radiator.

After all the measurements were taken, Bardabe began to cut and bend the steel starting with the main hoop.

While he did that, Allan and I began tearing apart the dash.

Which I think Honda designed specifically to upset anyone who ever decided to remove it…
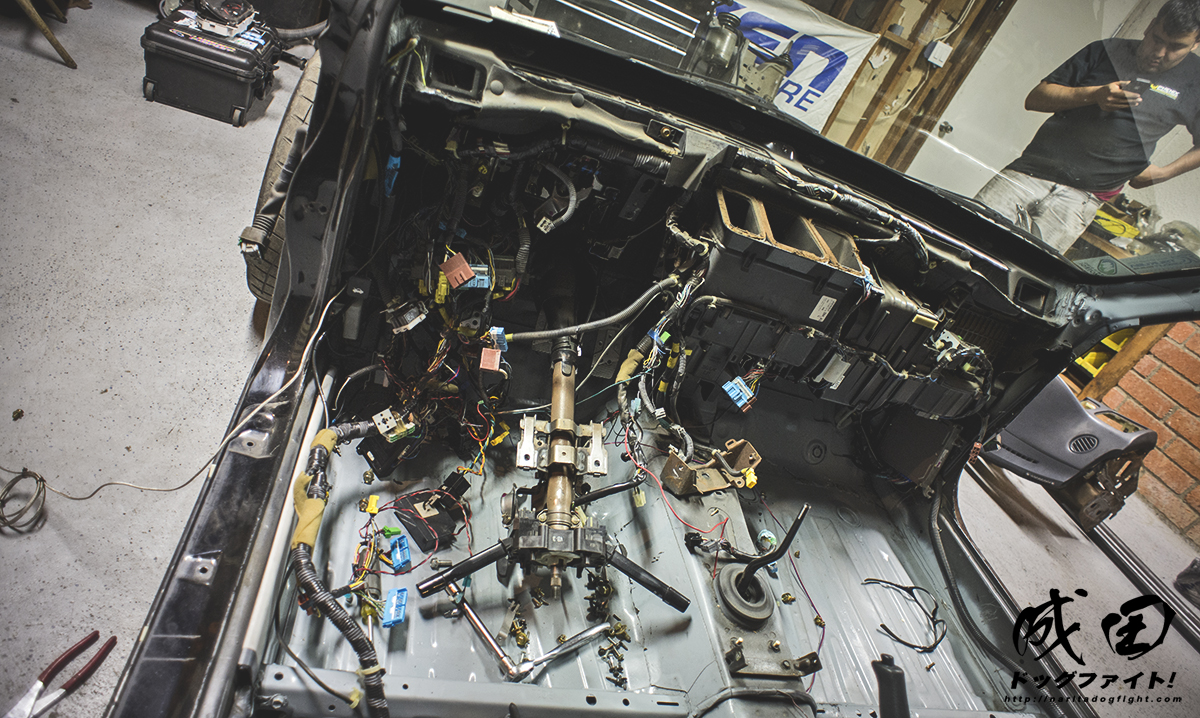
Behind the dash you can see the heater core and other various AC and SRS pieces – all which would be coming out. We cleaned up a good portion of the wiring last night, but just looking at that mess now reminds me what I have in store for later today haha.

Here’s a shot with the heater core and other bits removed. Once the heater core was out I was able to cut and loop the lines so it stopped leaking radiator fluid all over Bardabe’s garage. I had removed the AC and all components a good 10 years ago so that was one less thing we had to do as well.
I’ll have to grab some dry ice to take care of the rest of that sound deadening as well – looks ugly. I’ll also be fabbing up some covers for the firewall holes now as well. I’m still debating what to do with the dash, whether to go half dash or not, but either way something will have to be done with the firewall.

After a little more bending we decided to call it a night. This week I plan on finishing cleaning up the old wiring so we can get started on the dash portion of the cage. It’s just a mess from previously installed alarms and the plethora of gauges I used to run, but I’ll get it figured out.
I’ll do my best to update this series as things progress, but it gets difficult when you’re the one doing the work as well. I’ll give it a shot though.
Cheers!