
If there happened to be a collegiate panel somewhere in this world discussing the topic of ‘slow progress’, they’d probably call me in as an expert consultant. I’d inform them that the key to slow progress is to overload yourself with work from outside sources; work that obstructs your ability to finish tasks on the project you enjoy the most. In my particular case, this means building my ideal time attack Civic.
When I decided to document the rebuild of my car and it’s transformation into the dumbest street car ever, I initially did so for my personal use. So I would have something to look back at if I were to ever get rid of the car, or heaven forbid total it. I didn’t really think people would take a huge interest in it, but I was wrong! With that said, I apologize that these updates are few and far between. I know you’ve heard it before but I’ve been extremely busy with my day job the past month and change and as a result, the site has unfortunately been put on the back burner. I’m sure you’ve noticed a lack in general updates. Trust me, it’s not that I don’t have the content, it’s that it’s just getting hard to find time to post it. June should calm down a bit for me hopefully, and the updates should be more regular from here on out.
Anyway, now that I am back from traveling, I actually had a chance to work on the build last night. So after work, I stopped by my house and grabbed my camera to snap a few pics for an update. I’ll forewarn you that this won’t be the most exciting post, but at least it’s more than an Instagram pic.
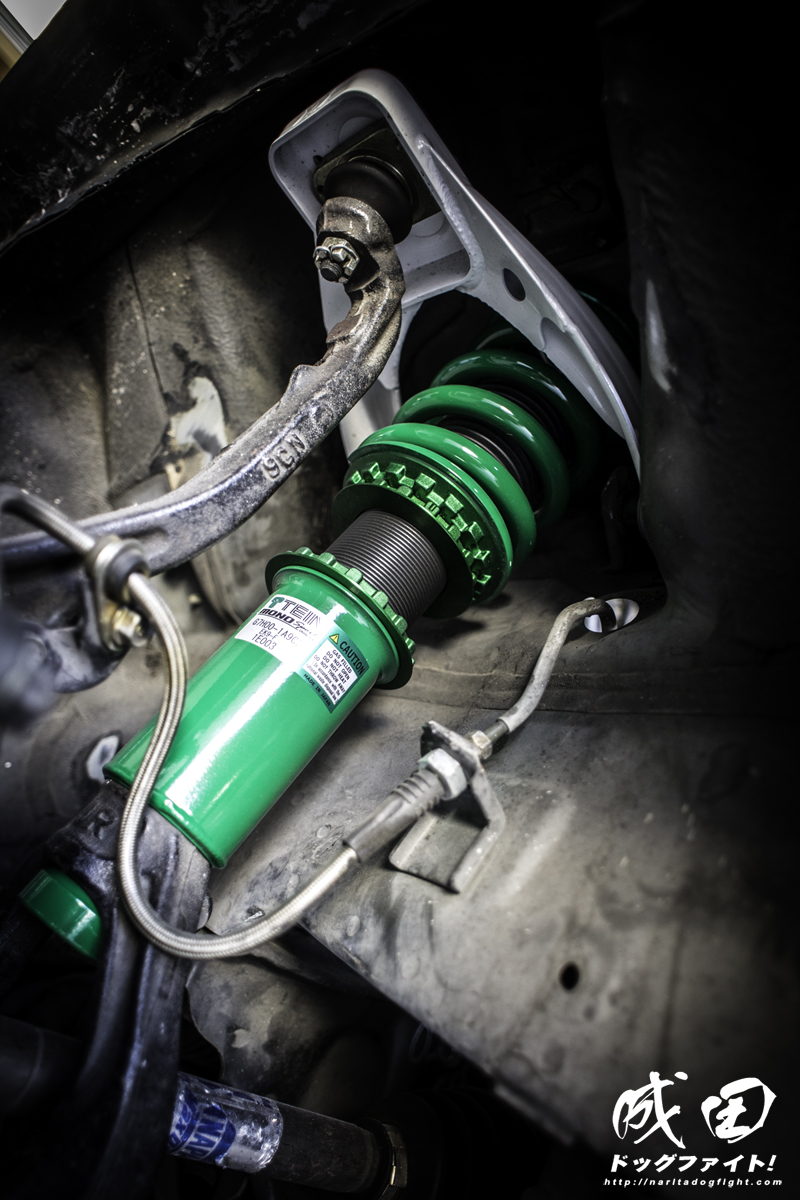
I suppose the most prominent update is that my suspension finally came in from Japan, and that it is on the car. At the beginning of the month I was in talks with a friend at Tein about getting some new Mono Sports for the car. I had the prior model (Mono Flex) on my S2000 and I absolutely loved the way they felt. Well, Tein has redesigned their Mono Tube line and has introduced the Mono Sport in place of the Flex. Adjustability is increased, as well as the way the fluids flow; now utilizing the new Advance M.S.V. sub-valve system. I’m really excited to try these out. At that time, they were not in stock, so I had waited for the next container to arrive.
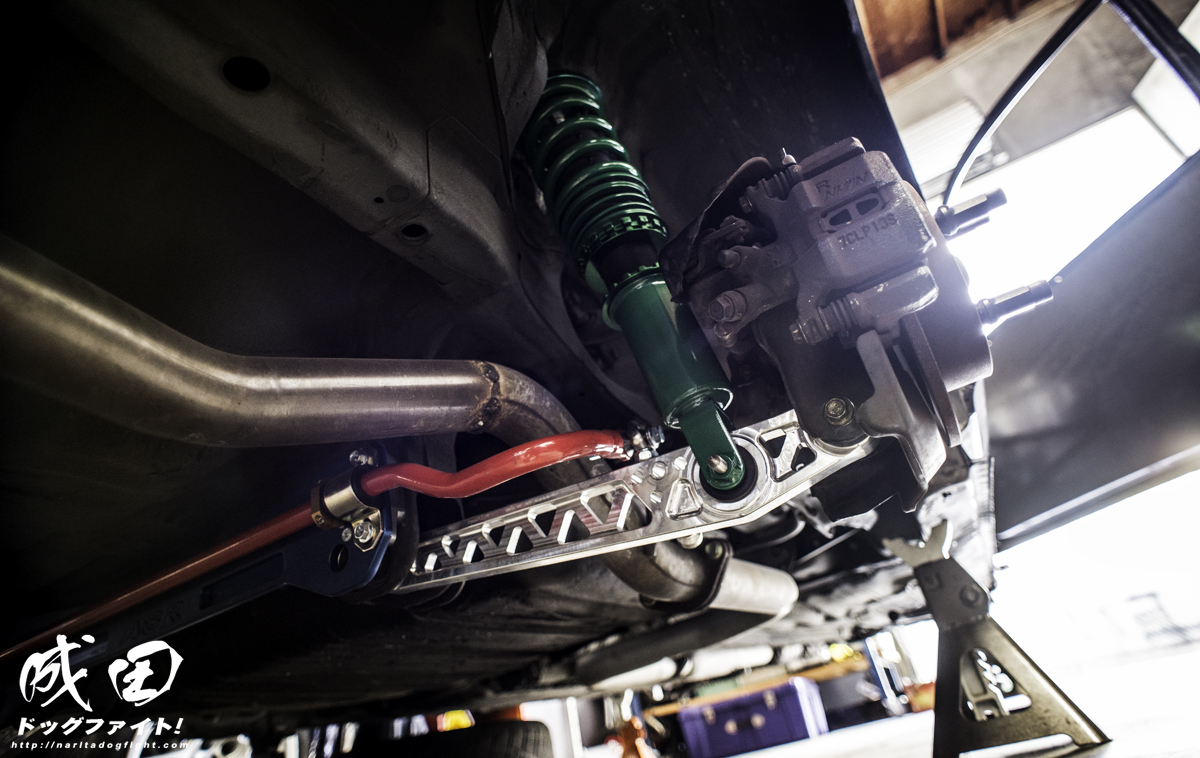
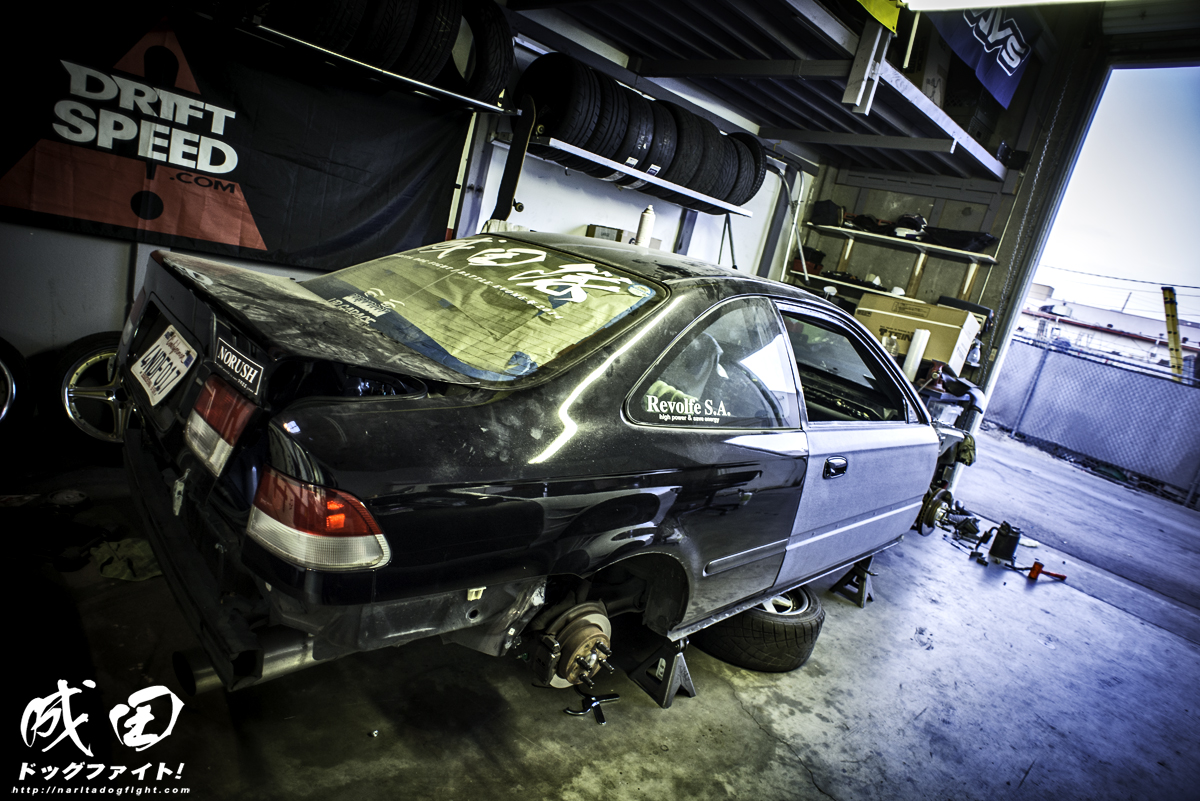
I picked them up at the beginning of the week and installed the same day. I wanted to replace a few bolts on the suspension however, but couldn’t get to Honda until Tuesday though. So the first thing I did when I got to the shop was finish the install of the coilovers. I haven’t had a chance to put the car on the ground yet to adjust them, but that will come in due time. I think I inadvertently made the most colorful rear half of a car ever.
The ugly exhaust you see here is also getting replaced. When Juan has room, I’ll be driving the car back to Riverside to have a center exit exhaust fabbed up. The piping will run under the sub-frame, as opposed to over the LCA, and out the bumper to basically eliminate all bends.
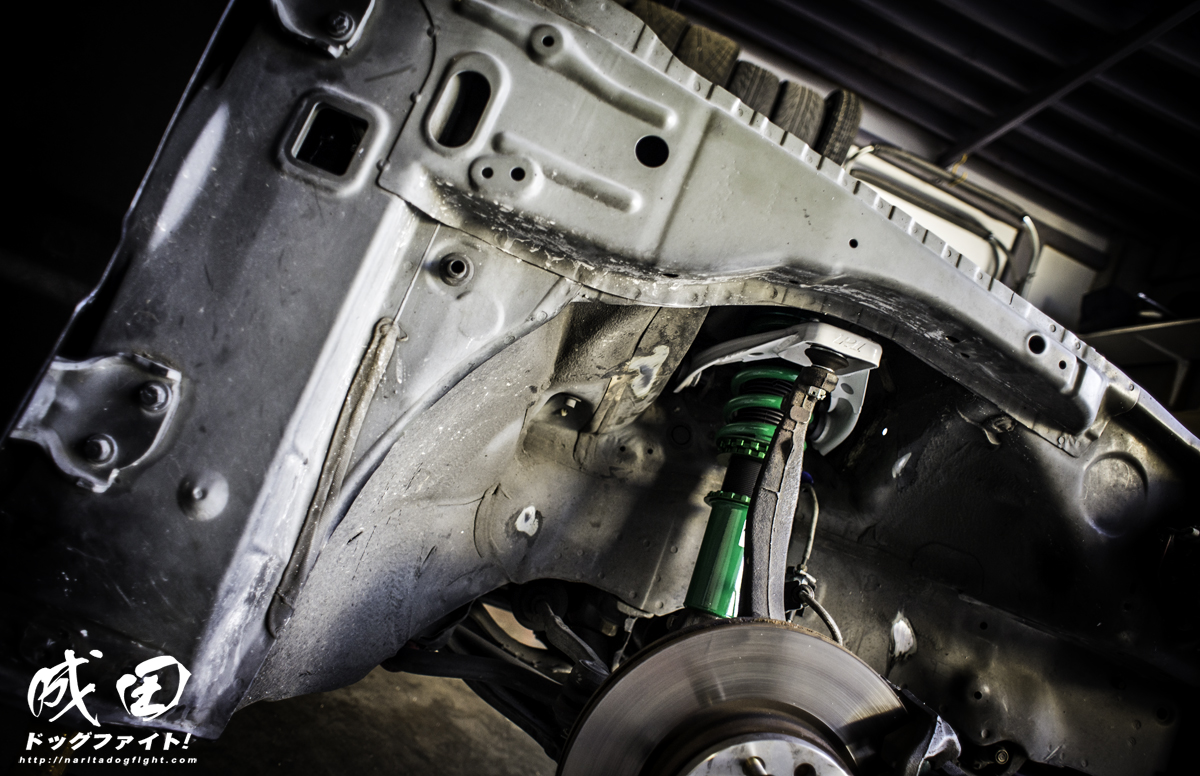
A look at the front coils, and BC FUCA’s…also my sweet NAPA axles that I get for free. Back when the car was turbocharged and I took it to Pomona every week to drag race, I would break axles often. NAPA has a lifetime warranty…winning.

You can see in the fender wells that there are some pretty gnarly seems where the spot welds are. These are great for running larger wheels, so they need to be taken care of. Also, 235 and 255 tire will hit that headlight bracket…
So I cut off some tabs on the seam that help hold the fender/liner on, heated up the seam, and hit it repeatedly really hard with a mallet haha
You can see inside where even the 225’s were rubbing on the 16’s I had on. Those spots were also hit with a hammer lol
But you can see the weld is tucked in now – the same thing will be done to the top portion.

The headlight bracket was removed, and I also trimmed back the portion of the headlight. Part of me cringed a little cutting new SiR headlights, but a much larger part of me didn’t care at all.

I think another thing I didn’t post yet is the interior. If you follow the sites Instagram account (@naritadogfight), you’ll have seen it before. If not check it out because I forgot to take pictures haha. The cage and interior was resprayed a much darker grey color. I’m hoping this won’t show dirt as much as the old Winter Grey color did. I like it!

Also posted on Instagram a few times were the carbon door cards I made for the fiberglass doors. I’m not a fabricator in the loosest use of the word and this was my first time riv-nutting anything so I have to go back and redo them. I think the overall concept is there, my execution is a bit lacking though lol. It’s quite difficult to riv-nut into fiberglass as you have to judge what the correct pressure is – too tight and you’ll crack the fiberglass, not tight enough the riv-nut will pull out.
Once the car is somewhat complete, I’ll go back and redo them…for now they work though. I was also able to utilize the OEM door handles and latch system. So happy that the doors close somewhat perfectly!

Here you can see where the door cards are incomplete. I need to make some sort of L-bracket to cover the gap where there is no material to riv-nut against. No big deal though, as I’m not too bothered by it for now. That little knob sticking out of the door is the latch I made to open the door from the inside. It’s actually bicycle brake cable (Credit to Dom for the idea), that is mounted through a riv-nut and attached to the inside latch. I’m able to pull up on it and undo the latch. Eventually I’ll make a key-ring for it, or attach a fancy piece of cloth or something easier to grab. I don’t want to be in a situation on track and have only that tiny thing to grab on to to open the door with.
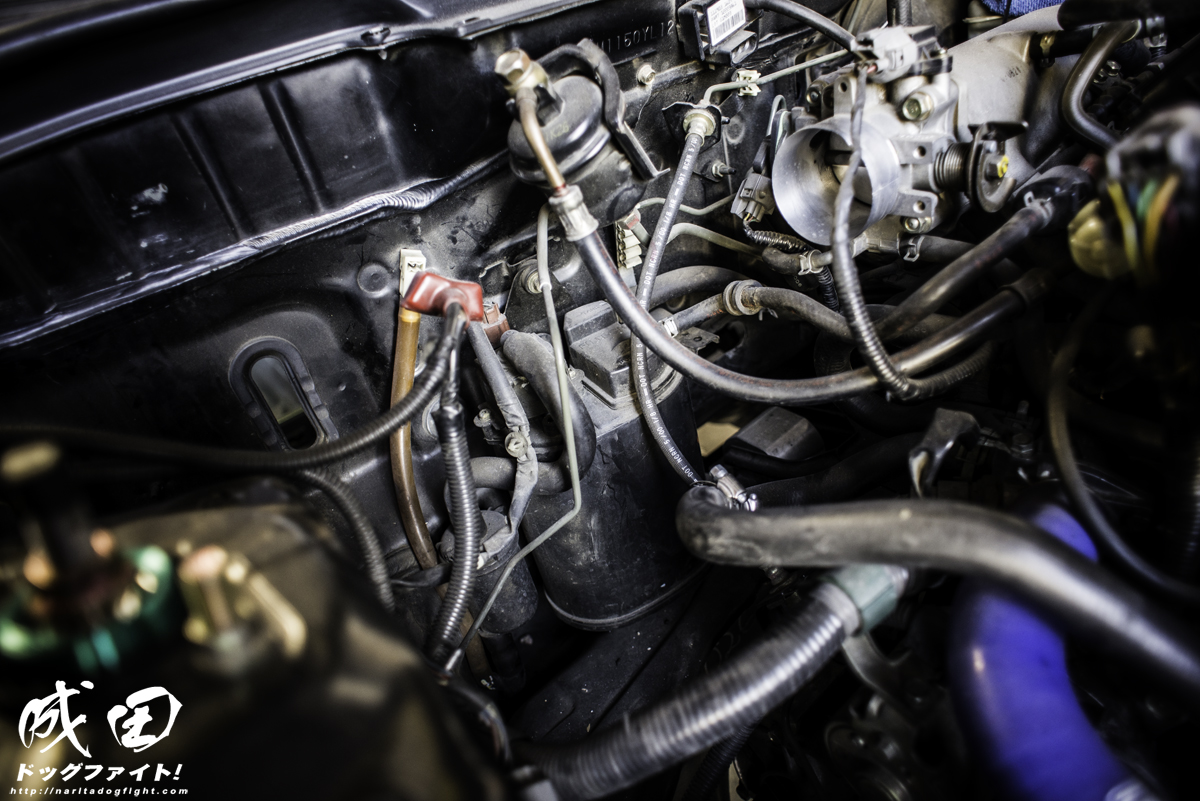
Still to be taken out of the bay was the charcoal canister, for obvious reasons…
I also removed the battery and tray to relocate it to the trunk…or maybe the passenger side floor.

One of the issues I needed to tend to before moving the car back home was to redo the heater core loop that we rigged together at Juans. When I took the heater core out we didn’t have enough material to loop the outlets so we rigged together some bullshit tube with like three pieces of tubing and some aluminum piping ziptied to the firewall. It worked getting home, but as you can see it was stupid.

Here is a picture after picture. Much better, and it’s not kinked. Also, charcoal canister is out, as well as all the fuel purge stuff.
I like this picture because you can see how the door wrap looks in the light. It’s a brushed aluminum look, but I haven’t really gotten to see it in the sun yet. The fiberglass was really raw, so some defects can be seen through the vinyl, but not a huge deal. Once a livery is applied it will draw focus away.
The quarter panel windows will be taken out, hopefully this week, so I can use them to lay the carbon for what will be their replacement, and the newest Dogfight LCP product. Also, my CTR rear bumper support is on it’s way here. Little things like that make a huge difference. The CTR rear bumper support is a mere 2.8 pounds in comparison the USDM on that weighs in at a massive 12.5 pounds.

Jay Jay is working on his new build at the same time right next to me. Allan was laughing because he was making funny noise trying to get into the back of his car with the cage in.

Squished Jay Jay.

Still lots to do!! I hope I can find the time to keep some sort of momentum up with this project. Hopefully Yuta can deliver the BattleCraft hood today so I can fit it and send it off to paint. Also, I have some new side mirrors on the way that will also get sent to paint. Thanks for all the support!
Oh!! I also got the carbon plug fitted and sealed, I completely forgot to take pictures – I’ll get some next time.
Thanks to Koyorad, Tanabe, and Bardabe Performance!
Discover more from
Subscribe to get the latest posts sent to your email.
so sick
will you be running standard fuel tank with the centre exit exhaust? i presume its safe?
Yes, the entire exhaust will be heat wrapped.